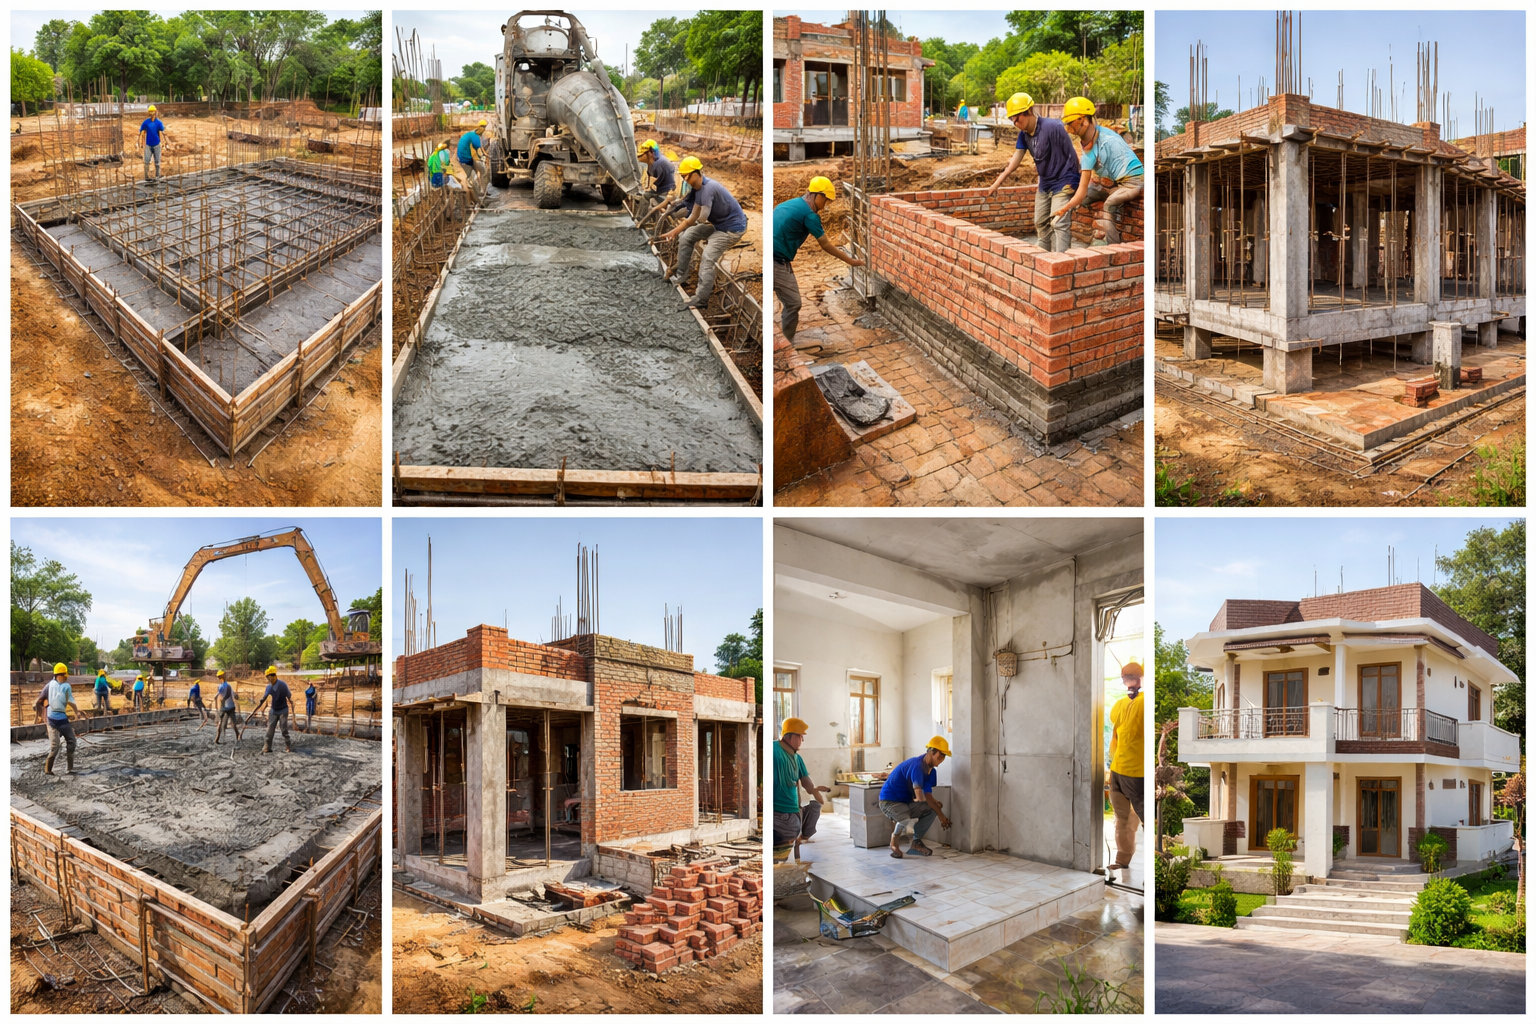
How to Build a House in India: A Complete Step-by-Step Guide
Building a house in India is a significant undertaking that requires careful planning, regulatory compliance, and coordination with multiple professionals. Whether you're constructing a residential property in Mumbai, Bangalore, Delhi, or any other Indian city, understanding the complete process will help you navigate challenges, manage costs effectively, and ensure timely completion. This comprehensive guide walks you through every stage of house construction in India.
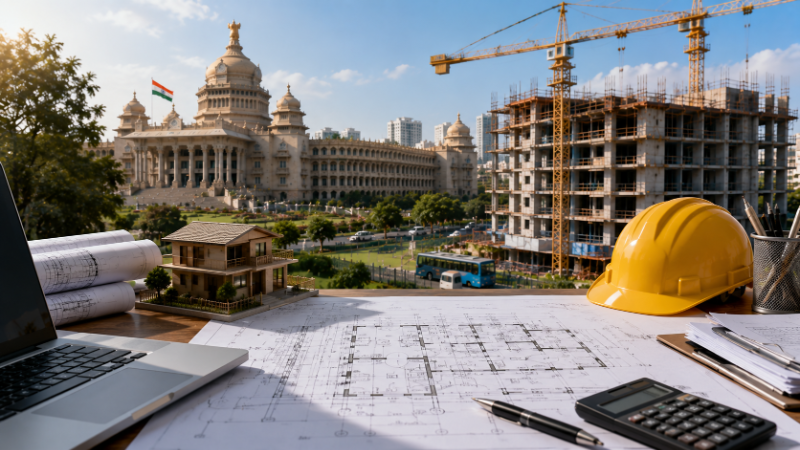
Build cost · Bengaluru, May 2026
Step 1: Finalize Your Budget and Financing
Before breaking ground, establish a realistic budget for your project. In India, construction costs vary significantly by location. As of 2024, residential construction costs range from ₹1,200 to ₹3,500 per square foot depending on the city and quality of construction. Metropolitan areas like Mumbai and Bangalore command premium rates, while tier-2 cities offer more affordable options.
Key Budget Components
Land acquisition: The largest expense, varying drastically by location
Construction materials: Cement, steel, bricks, and finishing materials
Labor costs: Typically 30-40% of total construction expenses
Professional fees: Architects, engineers, and consultants (5-8% of construction cost)
Permits and approvals: Municipal, environmental, and other regulatory clearances
Contingency fund: Reserve 10-15% for unexpected expenses
Secure financing through home loans from banks like HDFC, ICICI, Axis, or SBI, which typically offer rates between 8-9% per annum. Most banks finance up to 80-90% of the property value.
Step 2: Acquire and Survey the Land
Obtaining a suitable piece of land is foundational to your construction project. Conduct thorough due diligence before purchasing.
Frequently asked
Land Acquisition Checklist
Title verification: Obtain a clear title deed and verify ownership through municipal records
Land survey: Hire a licensed surveyor to measure exact dimensions and identify boundaries
Soil testing: Conduct soil investigation to determine bearing capacity and foundation requirements (costs ₹15,000-₹50,000)
Zoning and land use: Confirm the land is zoned for residential construction
Encumbrance check: Ensure no legal disputes or mortgages exist
Utility access: Verify availability of water, electricity, and sewage connections
In cities like Pune, Hyderabad, and Kolkata, municipal corporations provide online portals for checking land records and zoning regulations. Allocate 2-4 weeks for comprehensive land verification.
Step 3: Hire Architects and Consultants
Engaging qualified professionals is crucial for successful house construction. Architects and structural engineers ensure your design complies with local building codes and safety standards.
Key Professionals to Engage
Architect: Designs the house, creates drawings, and ensures aesthetic appeal
Structural engineer: Designs structural systems and ensures safety compliance
Civil engineer: Oversees on-site construction and quality management
Electrical and plumbing consultants: Design utility systems
Vastu/Interior consultant (optional): Provides traditional design guidance
Professional fees typically range from ₹80,000 to ₹5,00,000 depending on project complexity and the architect's experience. When looking for reliable professionals, platforms like AECORD connect you with verified architects, engineers, and construction experts across India.
Step 4: Obtain Necessary Approvals and Permits
Building permits are mandatory in India and vary by municipality. This is often the most time-consuming step, taking 4-12 weeks depending on your city.
Essential Approvals Required
Building permission: Submitted to the local municipal corporation with architectural plans
Occupancy certificate (OC): Obtained after construction completion
Environmental clearance: Required for projects in sensitive areas (if applicable)
Fire safety NOC: Mandatory for multi-story buildings
Water and sewage connection: Approval from local water authority
Electricity connection: Approval from distribution company (BESCOM in Bangalore, MSEDCL in Maharashtra, etc.)
In major cities like Delhi, Mumbai, and Chennai, online portals streamline the permit application process. Engage a professional consultant familiar with your local municipal regulations to navigate this process efficiently.
Step 5: Finalize Design and Specifications
Work closely with your architect to finalize detailed plans and specifications. This phase determines the quality and functionality of your final home.
Design Finalization Steps
Conceptual design: Initial layouts and 3D visualization
Detailed architectural drawings: Floor plans, elevations, and sections
Structural drawings: Foundation, beams, columns, and reinforcement details
MEP drawings: Mechanical, electrical, and plumbing layouts
Specifications document: Material grades, finishes, and quality standards
Clearly define specifications for materials—cement grade (OPC or PPC), steel quality (Fe500), brick type (burnt clay or fly ash), and finishing materials. This prevents disputes during construction and ensures consistent quality.
Step 6: Prepare Project Timeline and Cost Estimate
Develop a detailed project schedule and cost breakdown before construction begins.
Typical Construction Timeline
Foundation and basement: 4-8 weeks
Structural work (columns and beams): 8-12 weeks
Masonry and walls: 8-12 weeks
Flooring and concrete: 6-10 weeks
MEP rough-ins: 6-8 weeks
Finishing work: 8-12 weeks
Final touches and handover: 2-4 weeks
Total construction duration typically ranges from 12-18 months for a 2,000-3,000 sq. ft. residential property. Weather conditions, material availability, and labor availability affect timelines significantly.
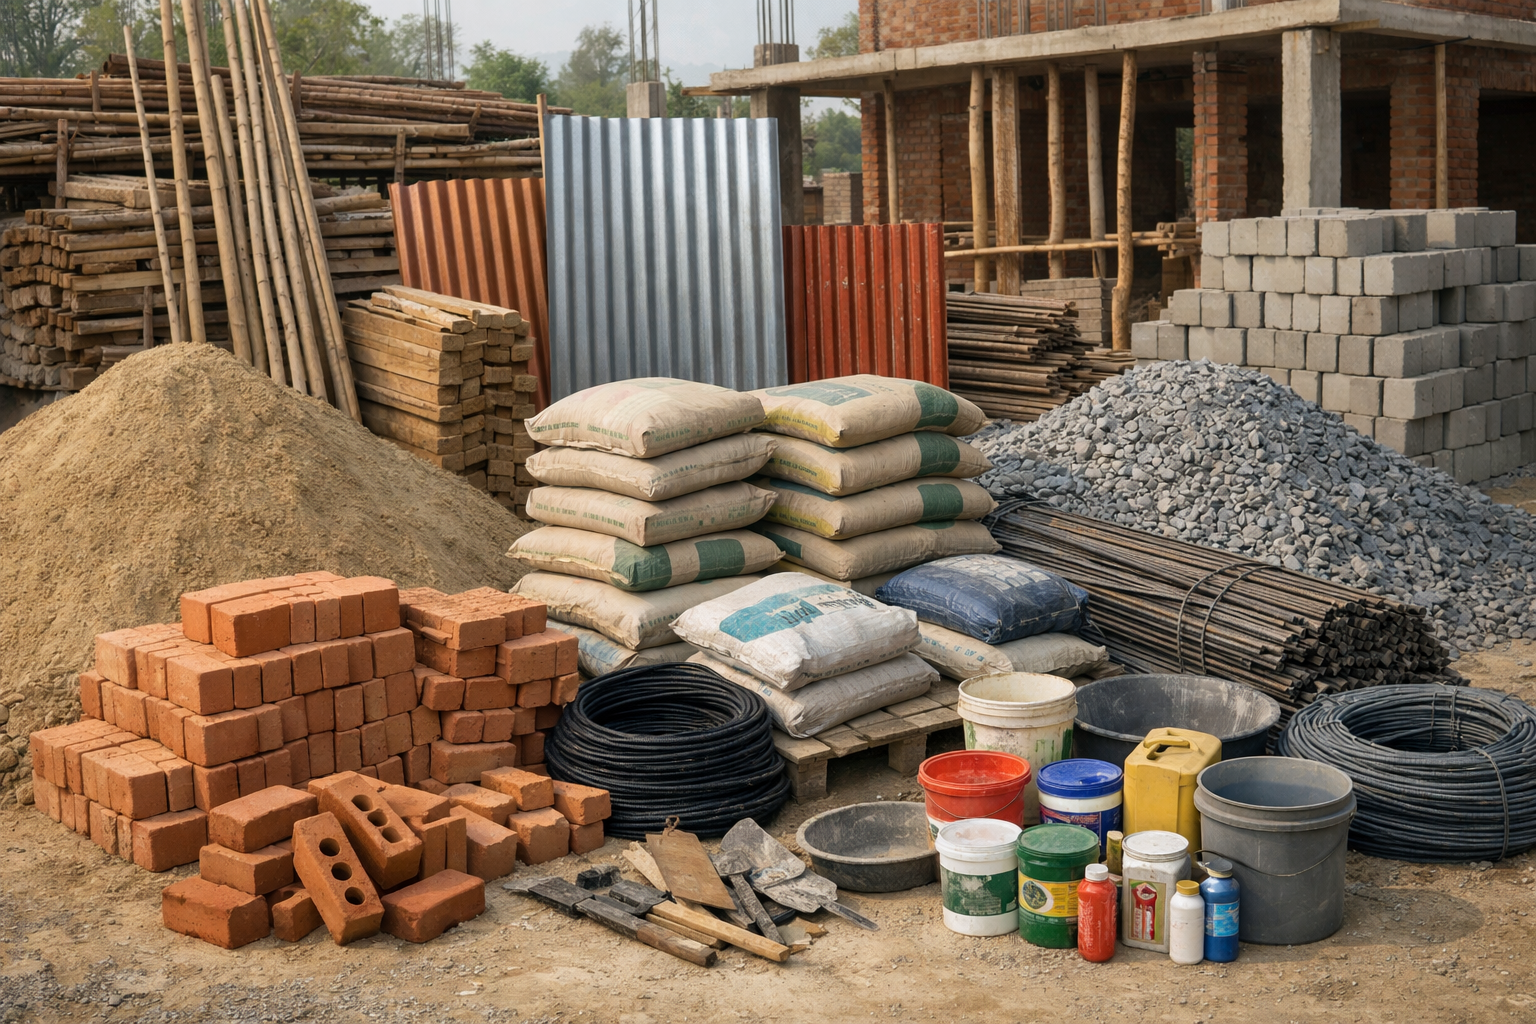
Step 7: Procure Materials and Hire Contractors
Identify reliable suppliers and contractors. Quality materials directly impact durability and long-term maintenance costs.
Material Procurement Strategy
Bulk purchasing: Buy cement, steel, and bricks in bulk for cost savings (typically 5-10% discount)
Quality verification: Inspect materials upon delivery; ensure certifications for steel and cement
Storage management: Properly store materials to prevent deterioration
Supplier relationships: Build long-term relationships for consistent quality and timely delivery
Contractor selection is critical. Verify credentials, check previous projects, and obtain references. Clearly define scope of work, payment terms, and penalty clauses for delays in the contract.
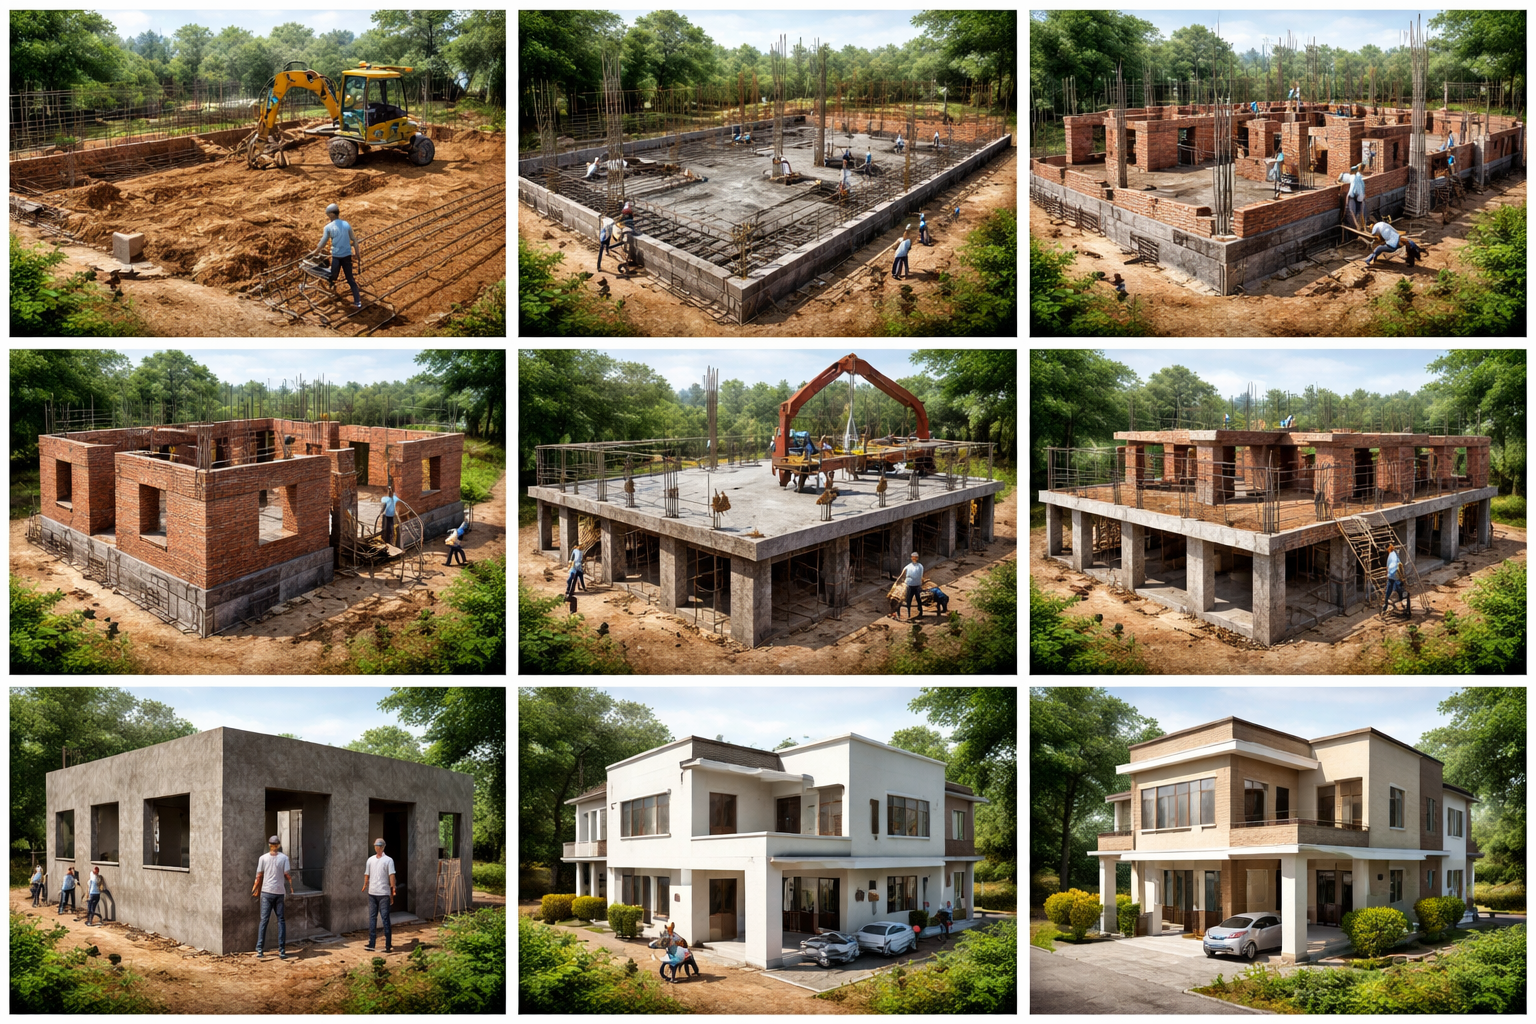
Step 8: Commence Foundation and Excavation
Foundation work sets the structural integrity of your entire house. This phase requires careful supervision and quality control.
Foundation Work Process
Site preparation: Clear land, establish site boundaries, and set up temporary facilities
Excavation: Dig to the required depth based on soil investigation reports
Foundation design implementation: Pour concrete footings and construct pile caps or raft foundations
Waterproofing: Apply DPC (damp proof course) to prevent moisture seepage
Plinth beam construction: Create structural base for walls
Conduct soil testing and inspection before and during excavation. Poor foundation work can lead to structural issues costing lakhs to repair later.
Step 9: Structural Construction (Framing)
This phase involves constructing columns, beams, and floor slabs. Structural safety is paramount.
Structural Work Stages
Column and beam construction: Erect structural elements with proper reinforcement
Formwork and shuttering: Install temporary supports for concrete pouring
Concrete pouring: Pour concrete with proper curing procedures
Formwork removal: Carefully remove temporary supports after concrete sets
Quality testing: Conduct compression tests on concrete samples
Hire a qualified structural engineer to supervise this critical phase. Regular site inspections ensure adherence to design specifications and safety standards.
Step 10: Masonry and Walls Construction
Wall construction begins after structural framing is complete. This phase determines the building's thermal and acoustic properties.
Masonry Work Details
Brick or block selection: Choose between burnt clay bricks, fly ash bricks, or concrete blocks
Mortar preparation: Use proper cement-sand ratio (typically 1:4 or 1:6)
Wall construction: Build walls with proper bonding and alignment
Openings and lintels: Construct window and door openings with proper support
Plastering: Apply cement plaster (typically 12-15mm thick) for finishing
Quality masonry reduces water seepage and improves structural durability. Ensure proper curing time between construction stages.
Step 11: MEP (Mechanical, Electrical, Plumbing) Installation
MEP systems are essential for functionality and comfort. Plan these systems carefully to avoid costly modifications later.
MEP Installation Process
Electrical rough-in: Install conduits, wiring, and cable trays within walls
Plumbing rough-in: Install water supply and drainage pipes
HVAC rough-in: Install ductwork and ventilation systems
Panel boards and distribution: Install electrical panels and distribution boards
Testing and commissioning: Conduct pressure tests and electrical safety checks
Coordinate MEP work carefully with structural and masonry work. Improper coordination leads to clashes and expensive rework.
Step 12: Flooring and Interior Finishes
Interior finishes significantly impact the aesthetic appeal and functionality of your home.
Finishing Work Components
Flooring: Install tiles, marble, wood, or laminate based on preference and budget
Painting: Apply primer and finish coats with quality paint (typically 2-3 coats)
Ceiling work: Install false ceilings, paint, or leave exposed as per design
Wall finishes: Apply wallpaper, texture, or paint finishes
Doors and windows: Install frames and shutters
Kitchen and bathroom fittings: Install sinks, toilets, and fixtures
Interior finishes represent 20-30% of total construction cost. Allocate sufficient time for proper curing and quality finishing.
Step 13: Quality Inspection and Testing
Comprehensive quality checks ensure your house meets safety and performance standards.
Key Quality Inspections
Structural integrity tests: Load tests and visual inspections
Water tightness tests: Check for leaks in roof and walls
Electrical safety tests: Verify grounding, insulation, and circuit integrity
Plumbing tests: Check water pressure and drainage functionality
Air quality and ventilation: Ensure proper air circulation
Conduct third-party testing for critical systems. This provides independent verification of quality and protects your investment.
Step 14: Obtain Occupancy Certificate and Handover
The occupancy certificate (OC) is the final approval from municipal authorities, confirming your house complies with building regulations.
OC Application Process
Final inspection: Municipal authorities inspect the completed building
Documentation submission: Submit completion certificate, structural engineer's certificate, and test reports
OC issuance: Receive occupancy certificate upon approval
Registration: Register the property with local authorities
The OC process typically takes 2-4 weeks. Without it, you cannot legally occupy the property or obtain utility connections.
Step 15: Final Handover and Move-In
Before moving in, conduct a final walkthrough to ensure all agreed-upon work is completed satisfactorily.
Handover Checklist
All structural work completed as per design
All finishes applied with acceptable quality
All utilities (water, electricity, gas) functional
All fixtures and fittings installed
Defect list prepared and addressed
Warranty documents and manuals provided
Maintain detailed documentation of all work completed, warranties, and maintenance schedules for future reference.
Common Challenges and Solutions
Construction Delays
Weather, material shortages, and labor unavailability cause delays. Mitigate by maintaining buffer time in schedules and building strong supplier relationships.
Cost Overruns
Unplanned changes and material price fluctuations increase costs. Control expenses through detailed specifications, regular audits, and change management protocols.
Quality Issues
Poor workmanship compromises structural integrity. Prevent through regular inspections, clear specifications, and hiring qualified professionals.
Regulatory Compliance in Different Indian Cities
Building regulations vary significantly across Indian cities. Mumbai follows the Development Control Regulations (DCR), while Delhi follows the Master Plan and Building Bye-laws. Bangalore, Pune, and Hyderabad have their respective municipal regulations. Understanding your city's specific requirements is essential for smooth approvals.
Finding the Right Professionals for Your Project
Building a house requires coordinating with multiple professionals—architects, engineers, contractors, and consultants. AECORD provides a platform to connect with verified AECO professionals across India. Whether you need an experienced architect in Mumbai, a structural engineer in Bangalore, or a project manager in Delhi, AECORD helps you find qualified professionals with proven track records.
When selecting professionals through AECORD, review their portfolios, check client testimonials, and verify credentials. Clear communication and aligned expectations ensure successful project execution.
Budget-Saving Tips for House Construction
Plan thoroughly: Detailed planning prevents costly changes during construction
Bulk purchasing: Buy materials in bulk for significant discounts
Phased construction: Construct in phases to manage cash flow
Local materials: Use locally available materials to reduce transportation costs
Simple designs: Complex architectural designs increase costs; opt for practical, simple designs
Competitive bidding: Obtain quotes from multiple contractors and negotiate
Conclusion
Building a house in India is a complex but achievable goal with proper planning, professional guidance, and diligent execution. By following this step-by-step guide and engaging qualified professionals, you can navigate the construction process efficiently and create your dream home.
The key to successful house construction lies in meticulous planning, quality supervision, and transparent communication with all stakeholders. Whether you're building in a metropolitan city or a tier-2 city, the fundamental principles remain consistent: prioritize quality, maintain timelines, control costs, and ensure regulatory compliance.
Ready to start your house construction journey? Connect with experienced architects, engineers, and construction professionals on AECORD. Our platform makes it easy to find verified experts who understand your local market and can guide you through every stage of construction. Visit AECORD today to find the right professionals for your project and turn your dream home into reality.
Frequently Asked Questions
What is the average cost to build a house in India per square foot?
As of 2024, residential construction costs in India range from ₹1,200 to ₹3,500 per square foot, depending on the city and quality of construction. Metropolitan areas like Mumbai and Bangalore command premium rates, while tier-2 cities offer more affordable options.
How much should I allocate for contingency when building a house in India?
You should reserve 10-15% of your total construction budget as a contingency fund for unexpected expenses. This helps manage cost overruns and unforeseen challenges during the construction process.
What documents do I need to verify before buying land for house construction in India?
Before purchasing land, verify the clear title deed, conduct a land survey with licensed surveyor, perform soil testing, confirm residential zoning, check for encumbrances or legal disputes, and verify availability of utilities like water, electricity, and sewage connections.
What professionals do I need to hire for building a house in India?
You should hire an architect for design, a structural engineer for safety compliance, a civil engineer for on-site oversight, and electrical and plumbing consultants for utility systems. Professional fees typically range from ₹80,000 to ₹5,00,000 depending on project complexity.
How long does land verification take in India before construction?
Comprehensive land verification typically takes 2-4 weeks in Indian cities. This includes title verification, survey, soil testing, zoning confirmation, encumbrance checks, and utility access verification through municipal portals.